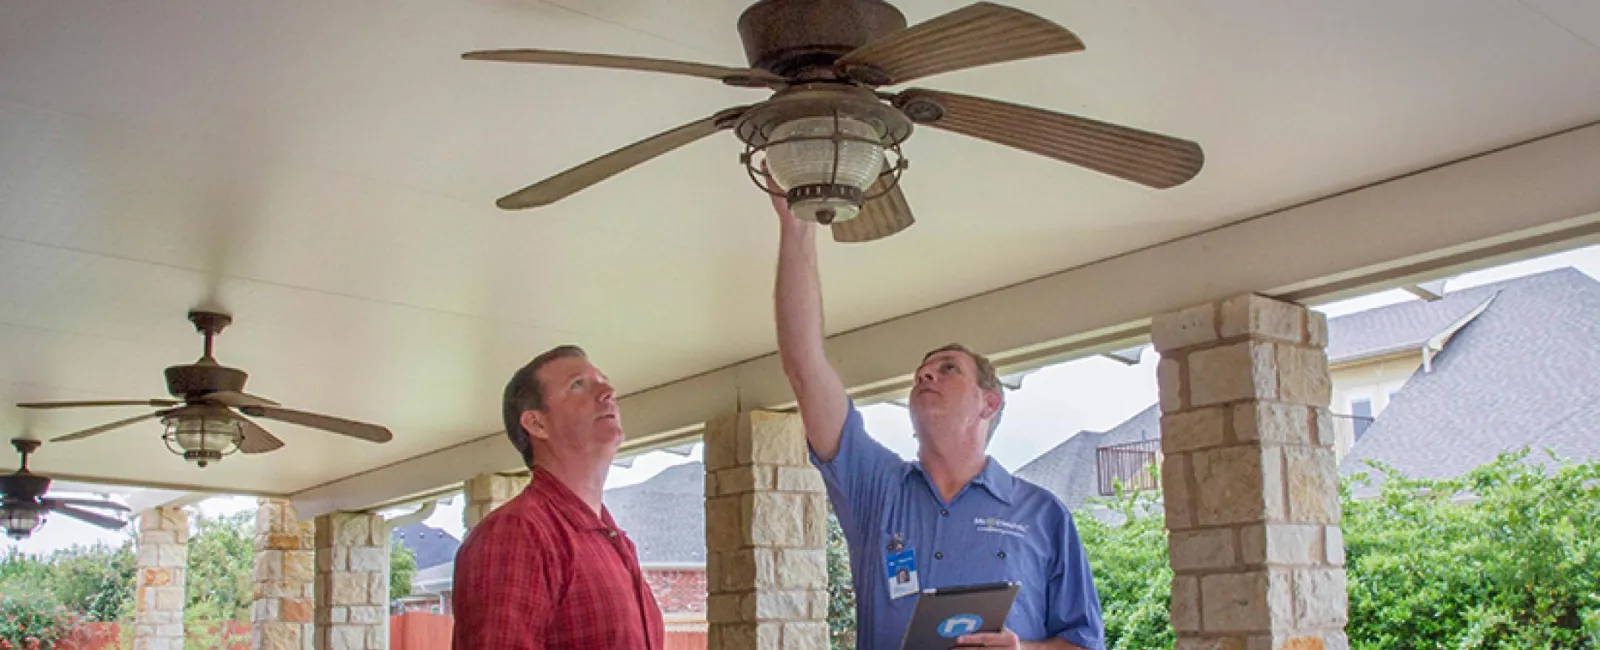
Are you an Atlanta, Georgia area homeowner interested in installing a new ceiling fan? Correct ceiling fan installation is vital for the safety of your home and family, and for ensuring the longevity of your investment. At Mr. Electric of Atlanta, we provide commercial and residential electrical services in Atlanta, Marietta, Roswell, Alpharetta, Brookhaven, Decatur, Buckhead, Georgia and other nearby metro area communities. While hiring a certified, licensed and insured electrician is the safest, fastest route to having the perfect ceiling fan installation, some individuals prefer to take the DIY approach. Here are a few tips for a safe and effective installation process, and advice for when it's time to call for help.
Choose the Right Location and Fan Size
The first step is to know where your fan will be located and to determine the right size fan needed before making a final purchasing decision. The larger the room, the bigger the fan should be. If the longest wall in your room is over 15 feet, then you need a 52-inch fan. 12 to 15 feet walls require a 42-inch fan, and a wall that's less than 12 feet works best with a 36-inch fan.
Gather Your Materials
Next, you'll need to gather all your supplies, and purchase items that you don't have. A thorough list should include: your new ceiling fan, code compliant junction box, ceiling fan mount kit, ceiling fan light kit, downrod extender for tall ceilings, voltage tester, wire cutters and strippers, dimmer switch, wire nuts, pliers, electrical tape, hammer, wrench, cordless drill, screwdrivers and any other materials you may need. Make sure that the junction box you have is rated for ceiling fans, as conventional ceiling boxes are no longer compliant with the National Electrical Code.
Turn the Power Off at the Panel Box
This is the most important step. Turn the power off at your breaker box, and ensure that there is zero electricity running through the wires you will be working with. Incorrect manipulation of wiring could result in fires, electrocution and even death. Use your voltage tester to make sure there isn't any electricity present before proceeding.
Remove the Current Fan or Light Fixture
Take the existing fan or light fixture out, and remove all wire nuts and electrical tape. There should be three wires, a black, white and green wire. Toss out the ceiling box that's in place, carefully removing any screws or nails from the frame. If you're unsure about the wiring, or if you don't have an existing fixture in the area you want to install your fan, it's probably best to call a professional. A certified electrician from Mr. Electric can safely run the additional wiring needed so you can enjoy your new ceiling fan without worrying about the health of your family or the structural integrity of your home.
Install the Hanger Bar, Fan Rated Ceiling Box and Fan Bracket
To install your new hanger bar by pushing it through the existing hole and rotate perpendicular to the ceiling joists. Once in place, you can attach your fan rated ceiling box to the hanger bar, and place the wires into the box. Make sure you secure the wires properly with a U-bolt. Next, feed your wires into the center of your mounting bracket, and slide it over the mounting screws or fasten it with nuts and bolts. If you need to use a downrod for high ceilings, now is the time to install it.
Assemble Your Ceiling Fan According to the Manufacturer's Instructions
Assemble your ceiling fan by carefully following the instructions provided by the manufacturer. Keep in mind that ceiling fans are often very heavy, especially if they include glass light fixtures. Never attempt a project like this alone. Have an adult friend or family member nearby to help lift heavy items, and to call for help in case of an emergency.
Install Your Fan
Once your fan is assembled, it's time to attach the wires. Match up the fan's wires with the black, white and green wires in your box. Install your lighting kit wires too if needed. Attach the fan to your box with the appropriate screws. Put any trim, lights, blades or decorative components in their proper place, and you're finished with your installation. Turn the power back on at your panel box, and test your new ceiling fan to ensure it works properly and operates safely.
Need Help with Your Ceiling Fan Installation? Call Mr. Electric Today
Are you installing a fan in an area without an existing fixture? Do you have concerns about your wiring or feel uncomfortable working with electricity? Did you follow the instructions of your ceiling fan's manufacturer perfectly, but it isn't working correctly? Then call the experts at Mr. Electric today. Our team of dedicated Atlanta, Georgia electricians are ready to come to the rescue.